The Complete Plex Guide for 2026
Last Updated: Oct 11, 2025
- Introduction
- What is Plex?
- How Plex Works
- Setting Up Plex Media Server
- Plex Apps and Devices
- Plex Pass vs. Free Version
- Managing Your Library
- Streaming Beyond Your Home
- Beyond Personal Media
- Advanced Tips
- Troubleshooting
- What’s New With Plex in 2025
- Alternatives to Plex
- Conclusion
- Resources
Introduction

Plex has become the go-to solution for anyone who wants full control over their digital media. Whether you’re a movie collector, a music lover, or a cord-cutter looking to consolidate streaming services, Plex offers a flexible platform that lets you organize, stream, and share media anywhere.
But Plex isn’t just about your hard drive anymore. Over the years, it has expanded into live TV, free ad-supported movies, podcasts, music, and even gaming.
This guide will walk you through everything: from installing Plex Media Server to advanced automation setups, while covering all the latest updates in 2025.
1. What is Plex?
Plex is a media server + client ecosystem.
- Plex Media Server (PMS): The “brains” of Plex, running on a computer, NAS, or container.
- Plex apps (clients): Smart TVs, mobile devices, streaming sticks, and browsers that connect to PMS.
💡 Think of Plex as building your own Netflix — but with your library instead of someone else’s.
Plex is a platform that combines a media server and client apps into one ecosystem. The Plex Media Server (PMS) stores and organizes your content, while the Plex apps act as the interface on your devices. Together, they let you build a personalized streaming service using your own movies, shows, music, and photos. Think of it as creating your own Netflix, but with full control over what’s inside.
2. How Plex Works
Here’s the basic flow:
- Install PMS on your server/computer/NAS.
- Point it at folders with your media.
- Plex organizes and fetches metadata (covers, cast, subtitles).
- Stream via Plex apps at home or remotely.
At its core, Plex works by pointing the server to your media folders and letting it organize everything automatically. Metadata is fetched from online databases to add posters, ratings, and cast info, giving your library a professional look. Playback happens through Plex apps, which can stream directly or transcode on the fly for compatibility. This makes it possible to enjoy your content at home or on the go, no matter the device.
Key concepts:
- Transcoding: Converts video formats on the fly for compatibility.
- Direct Play / Direct Stream: Sends the file as-is if supported.
- Metadata: Posters, ratings, trailers, and info that make your library look polished.
3. Setting Up Plex Media Server
Hardware Needs
- Light use: laptop, desktop, or Raspberry Pi 4.
- Heavy use: Intel i5/i7 with GPU acceleration.
- NAS (Synology, QNAP, Unraid) for 24/7 availability.

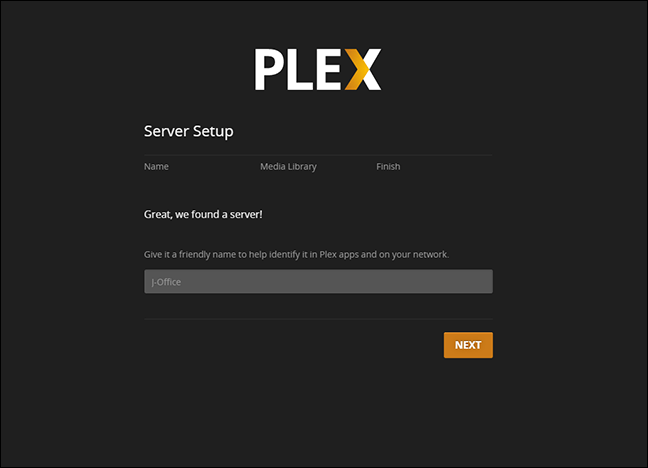
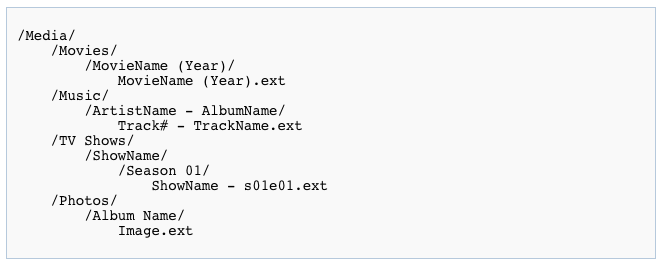
Plex can run on a variety of hardware, from a basic laptop to a high-end server with GPU acceleration. Installation is straightforward: download PMS, log in, and begin adding your media libraries. For the smoothest experience, follow Plex’s file naming conventions and keep media on a dedicated drive. Enabling remote access allows you to stream anywhere, though it’s wise to review security settings first.
Installation
- Download PMS from plex.tv.
- Install and sign in.
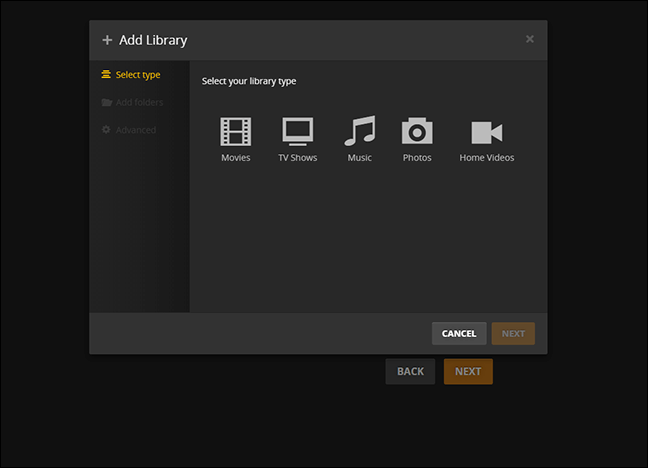
- Add libraries (Movies, TV Shows, Music, Photos).
- Configure metadata agents.
- Access via http://localhost:32400/web.
Best Practices
File naming:
- Movies:
Movie Name (Year).mp4 - Shows:
Show/Season 01/Show - S01E01.mp4
- Movies:
Storage: Keep media on a dedicated drive.
Remote access: Enable in settings (but see security notes below).
4. Plex Apps and Devices
Runs almost everywhere:
- Smart TVs: Samsung, LG, Vizio
- Streaming devices: Roku, Apple TV, Fire Stick
- Mobile apps: iOS, Android (⚡ free local playback since 2025 update)
- Consoles: PlayStation, Xbox
- Desktop/Web: Windows, Mac, browsers
⚠️ TV apps may struggle with heavy files. For best performance, use a streaming stick with stronger decoding.
| OS | Version |
|---|---|
| Windows | SP1 or newer |
| Mac | OS X 10.9 Mavericks or newer |
| Linux | CentOS 7 or newer, Debian 8 or newer, Fedora 27 or newer, SUSE 15 or newer, Ubuntu 16.04 or newer |
| FreeBSD | FreeBSD 11.2 or newer |
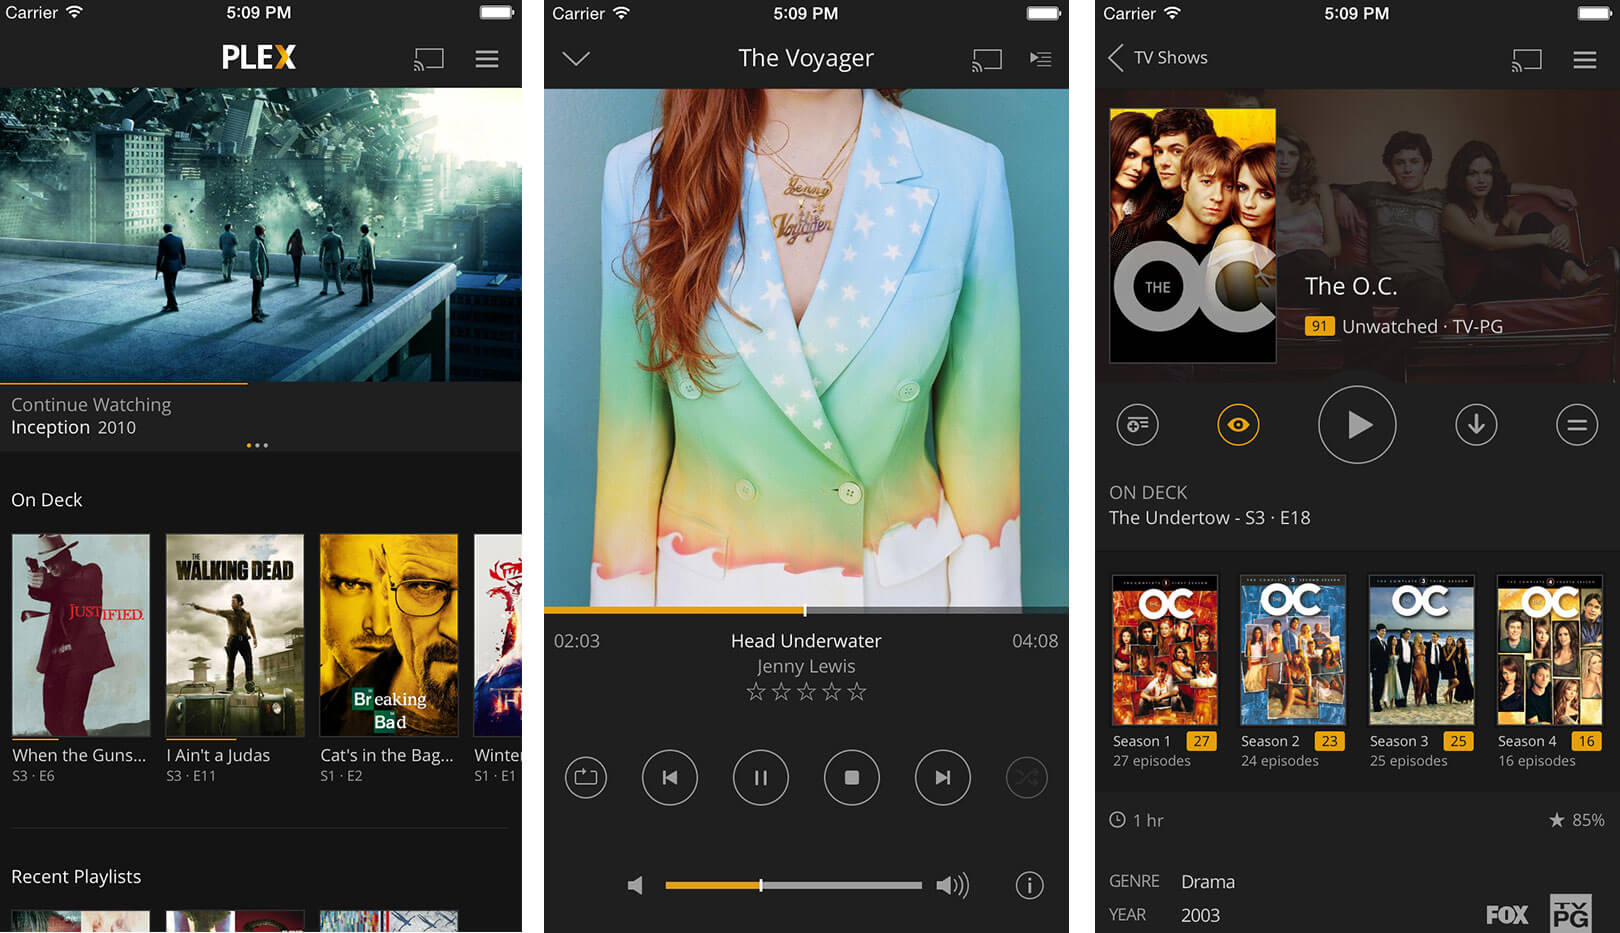
Plex clients are available on nearly every platform, including smart TVs, streaming sticks, mobile devices, and gaming consoles. This wide support makes it easy to access your library regardless of where you are. The apps provide a consistent interface but performance may vary depending on the device’s decoding power. For the best results with large or high-bitrate files, many users prefer external streaming sticks over built-in TV apps.
5. Plex Pass vs. Free Version

Free
- Organize & stream your media
- Access Plex Free Movies & TV
- Remote streaming (requires subscription in 2025)
Plex Pass ($6.99/mo, $69.99/yr, $249 lifetime)
- Hardware transcoding
- Skip intro button
- Offline downloads
- Parental controls
- Plexamp premium music
- Live TV & DVR
Remote Watch Pass ($1.99/mo, $19.99/yr)
- New in 2025
- Cheaper option for remote streaming only
The free version of Plex covers the basics: organizing media, streaming locally, and accessing some free content. Plex Pass, a paid subscription, unlocks powerful extras like hardware transcoding, offline downloads, and live TV with DVR. A new middle-ground option, the Remote Watch Pass, offers affordable remote streaming without all the premium perks. Deciding between tiers comes down to how advanced your setup is and whether you need flexibility outside your home network.
6. Managing Your Library
- Naming matters: Use Plex’s conventions for perfect metadata matches.
- Artwork: Override with custom posters if desired.
- Subtitles: Auto-download with OpenSubtitles or upload
.srtfiles. - Collections: Group franchises or themes for easy browsing.


Well-organized files are key to Plex working smoothly, and naming conventions ensure accurate metadata matching. You can customize your library by uploading artwork, choosing subtitles, and arranging collections. Advanced users often create themed groups, like Marvel movies or holiday specials, for easier browsing. With these tools, your library becomes more than a folder of files—it feels like a polished streaming service.
7. Streaming Beyond Your Home
Remote streaming is Plex’s biggest draw.
- Enable Remote Access: Settings → Remote Access.
- Port Forwarding: Manually forward port
32400for reliability. - VPN / Cloudflare Tunnels: Safer alternative to open ports.
Remote streaming is one of Plex’s most appealing features, allowing you to access your library anywhere in the world. This requires enabling remote access and often setting up port forwarding for reliability. Security should be taken seriously, and many users opt for VPNs or Cloudflare Tunnels to avoid exposing ports. Staying updated with the latest Plex Media Server version is also essential, as older builds may contain vulnerabilities.
8. Beyond Personal Media
Plex is no longer just for your files:
- Free Movies & TV: 50k+ titles, ad-supported.
- Live TV: 200+ channels.
- Discover: Search across Netflix, Prime, Disney+, etc.
- Plexamp: Audiophile-grade music player.
- Plex Arcade: Retro game streaming service.

In recent years, Plex has evolved beyond private libraries to include free, ad-supported movies and TV. It also offers live TV channels, a cross-service discovery tool, and Plexamp for music enthusiasts. Gaming fans can explore Plex Arcade, which streams classic retro titles. These additions make Plex a one-stop hub for entertainment, whether you’re managing your own collection or exploring new content.
9. Advanced Tips
- Hardware Transcoding: Enable Intel Quick Sync or NVIDIA NVENC.
- Docker: Use
linuxserver/plexfor easy deployment. - Optimized Versions: Pre-convert files for mobile.
- Automation: Integrate with Sonarr, Radarr, Lidarr for hands-free library updates.
- User Management: Share safely with profiles and parental controls.
Power users often enable hardware transcoding through Intel Quick Sync or NVIDIA GPUs to reduce CPU load. Docker containers make Plex easier to deploy and maintain across different systems. Integrations with tools like Sonarr and Radarr can fully automate library updates, eliminating the need for manual downloads. For families, user profiles and parental controls ensure a safe and tailored viewing experience.
10. Troubleshooting
- Buffering: Lower stream quality or enable GPU transcoding.
- Wrong Metadata: Fix naming or manually “Match.”
- Remote Issues: Check firewalls, ISP CGNAT, or use VPN.
- High CPU: Avoid unnecessary 4K→1080p conversions.
Buffering issues can often be resolved by lowering stream quality or enabling GPU transcoding. Incorrect metadata is usually fixed by renaming files or using the “Match” feature inside Plex. Remote access problems may stem from firewall settings, ISP restrictions, or NAT configurations. High CPU usage often indicates unnecessary transcoding, especially when downscaling 4K to lower resolutions.
11. What’s New With Plex in 2025
- 📈 Pricing changes: Plex Pass monthly $6.99, lifetime $249.
- 🔐 Remote streaming requires subscription (Plex Pass or Remote Watch Pass).
- 📱 Mobile apps unlocked for free local playback.
- 🎨 New Plex Experience: Redesigned UI rolling out.
Subscription costs have shifted, with Plex Pass rising slightly and lifetime pricing now at $249. Remote streaming is no longer included for free, requiring either Plex Pass or the cheaper Remote Watch Pass. Mobile apps have been unlocked for free local playback, removing old limitations. A redesigned Plex interface and a critical security patch highlight the company’s focus on usability and safety.
12. Alternatives to Plex
- Jellyfin (free, open source): No subscriptions, privacy-friendly.
- Emby: Customizable, freemium.
- Kodi: Best for local-only setups.
Jellyfin: 100% free and open source, with no subscriptions or tracking. It’s very privacy-friendly, but setup and polish aren’t as smooth as Plex. Great if you want full control and don’t mind tinkering.
Emby: Offers more customization than Plex and a freemium model. It can feel like a middle ground—less polished than Plex but more flexible than Jellyfin. Some features require a subscription, similar to Plex Pass.
Kodi: Best if you only want local playback without remote streaming. It’s highly customizable with add-ons but lacks the streamlined server-client model Plex uses. Think of it as a powerful media player rather than a full media ecosystem.
Here’s a side-by-side table comparing Jellyfin, Emby, Kodi, and Plex:
| Feature | Plex | Jellyfin | Emby | Kodi |
|---|---|---|---|---|
| Cost | Free tier + Plex Pass (subscription/lifetime) | 100% free, open source | Freemium, some features require subscription | Free, open source |
| Ease of Use | Very polished, plug-and-play | Less polished, more DIY setup | Moderate, more configurable than Plex | Easy for local files, harder for network setup |
| Remote Streaming | Yes (requires subscription in 2025) | Yes, fully free | Yes, some features locked behind paywall | No (local playback only) |
| Customization | Limited, but clean and user-friendly | Highly customizable | Highly customizable | Extremely customizable |
| Best For | Users who want polish + apps everywhere | Privacy-minded, open-source fans | Tinkerers who want control + extras | Offline users, local media collectors |
👉 In short: Plex = polish & convenience, Jellyfin = free & private, Emby = flexible middle ground, Kodi = local powerhouse.
Conclusion
Plex continues to dominate the personal media server space thanks to its balance of usability and advanced features. While some features now sit behind a paywall, the overall ecosystem is still unmatched. The ability to stream anywhere, combined with polished apps, makes Plex a favorite for casual and power users alike. If you want a media solution that “just works,” Plex remains the go-to choice in 2025.
Yes, subscriptions are pricier and remote streaming is no longer free — but if you value a seamless, all-in-one solution, Plex is unmatched.


